


 Bentley
ਵਿਸਤ੍ਰਿਤ ਸਿਰਲੇਖਾਂ ਦੇ ਨਾਲ ਬਾਇਓ ਪ੍ਰਯੋਗ ਚਿੱਤਰ ਉਤਪਾਦਨ ਲਈ ਕਦਮ ਗਾਈਡ
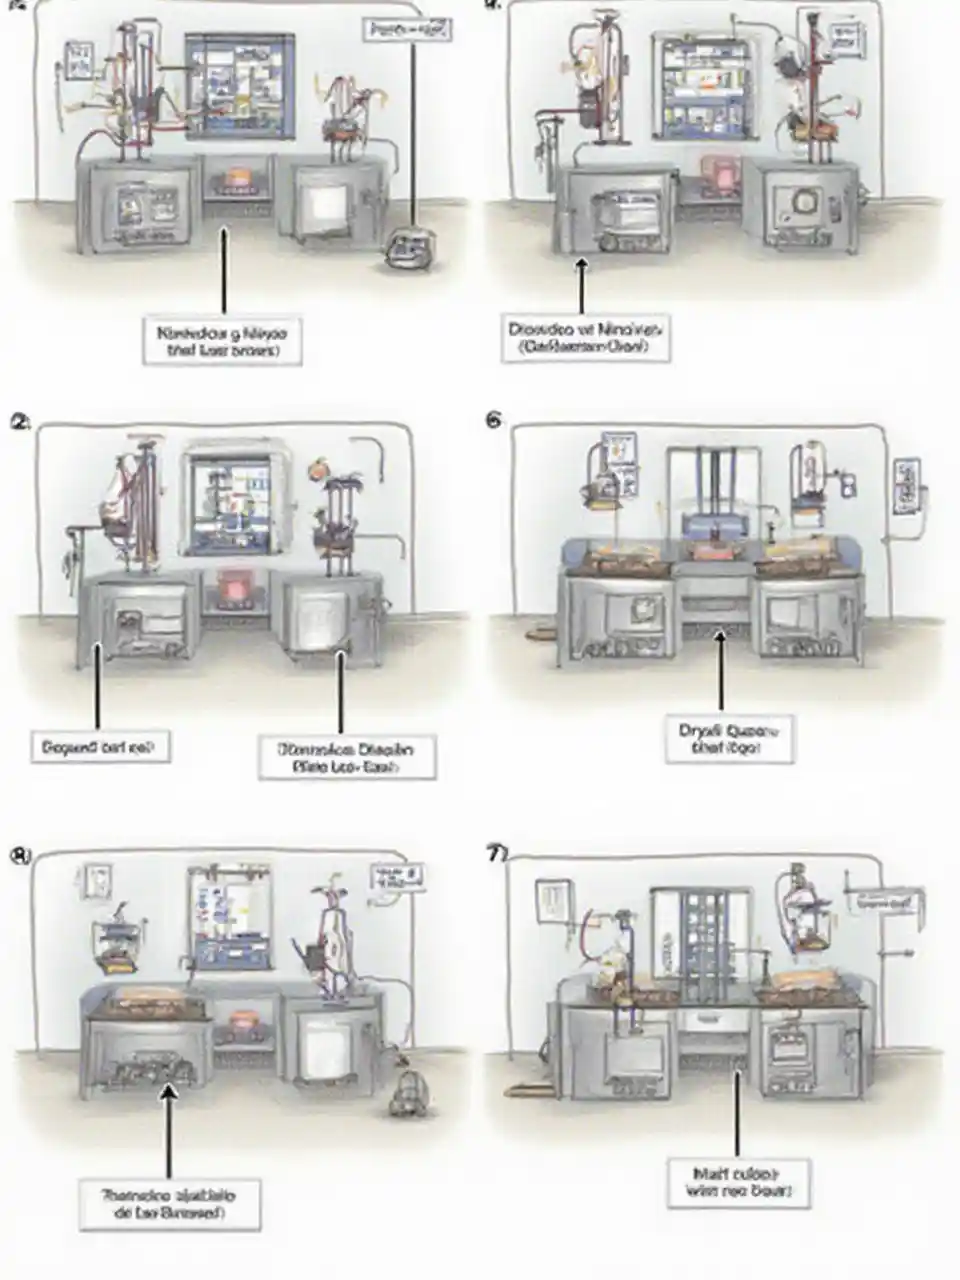
producing the each pictures in a bio experiment according to the description. Picture 1: Sample Setup & Balance Caption: Arrange your soil-filled tubes (250 mg each) symmetrically with a counterbalance in the centrifuge. Picture 2: Adding CD1 and Initial Mixing Caption: Add 800 μL of CD1 to the tube and vortex briefly to mix. Picture 3: Vortexing the Tube Caption: Secure the tube on the vortex adapter and vortex at maximum speed for 10 minutes. Picture 4: Centrifugation & Supernatant Transfer Caption: Centrifuge at 15,000 g for 1 minute, then transfer the clear supernatant (avoiding the pellet) to a new tube. Picture 5: Precipitating Contaminants Caption: Add 200 μL of CD2, vortex for 5 seconds, then centrifuge at 15,000 g for 1 minute. Picture 6: Adding CD3 & Loading the Spin Column Caption: Mix in 600 μL of CD3, then load 650 μL onto the MB Spin Column and centrifuge at 15,000 g for 1 minute. Picture 7: Repeat Loading on the Spin Column Caption: Reload the remaining sample onto the column and centrifuge again. Picture 8: Washing Steps Caption: Wash the column with EA, then with C5, each followed by centrifugation. Picture 9: Drying and Preparing for Elution Caption: Transfer the spin column to a new tube and centrifuge at 16,000 g for 2 minutes to dry. Picture 10: Final Elution & Labeling Caption: Add 50 μL of C6, wait 1 minute, centrifuge, and then label your final tube “genomic DNA.”